Grout Restoration
Works When:
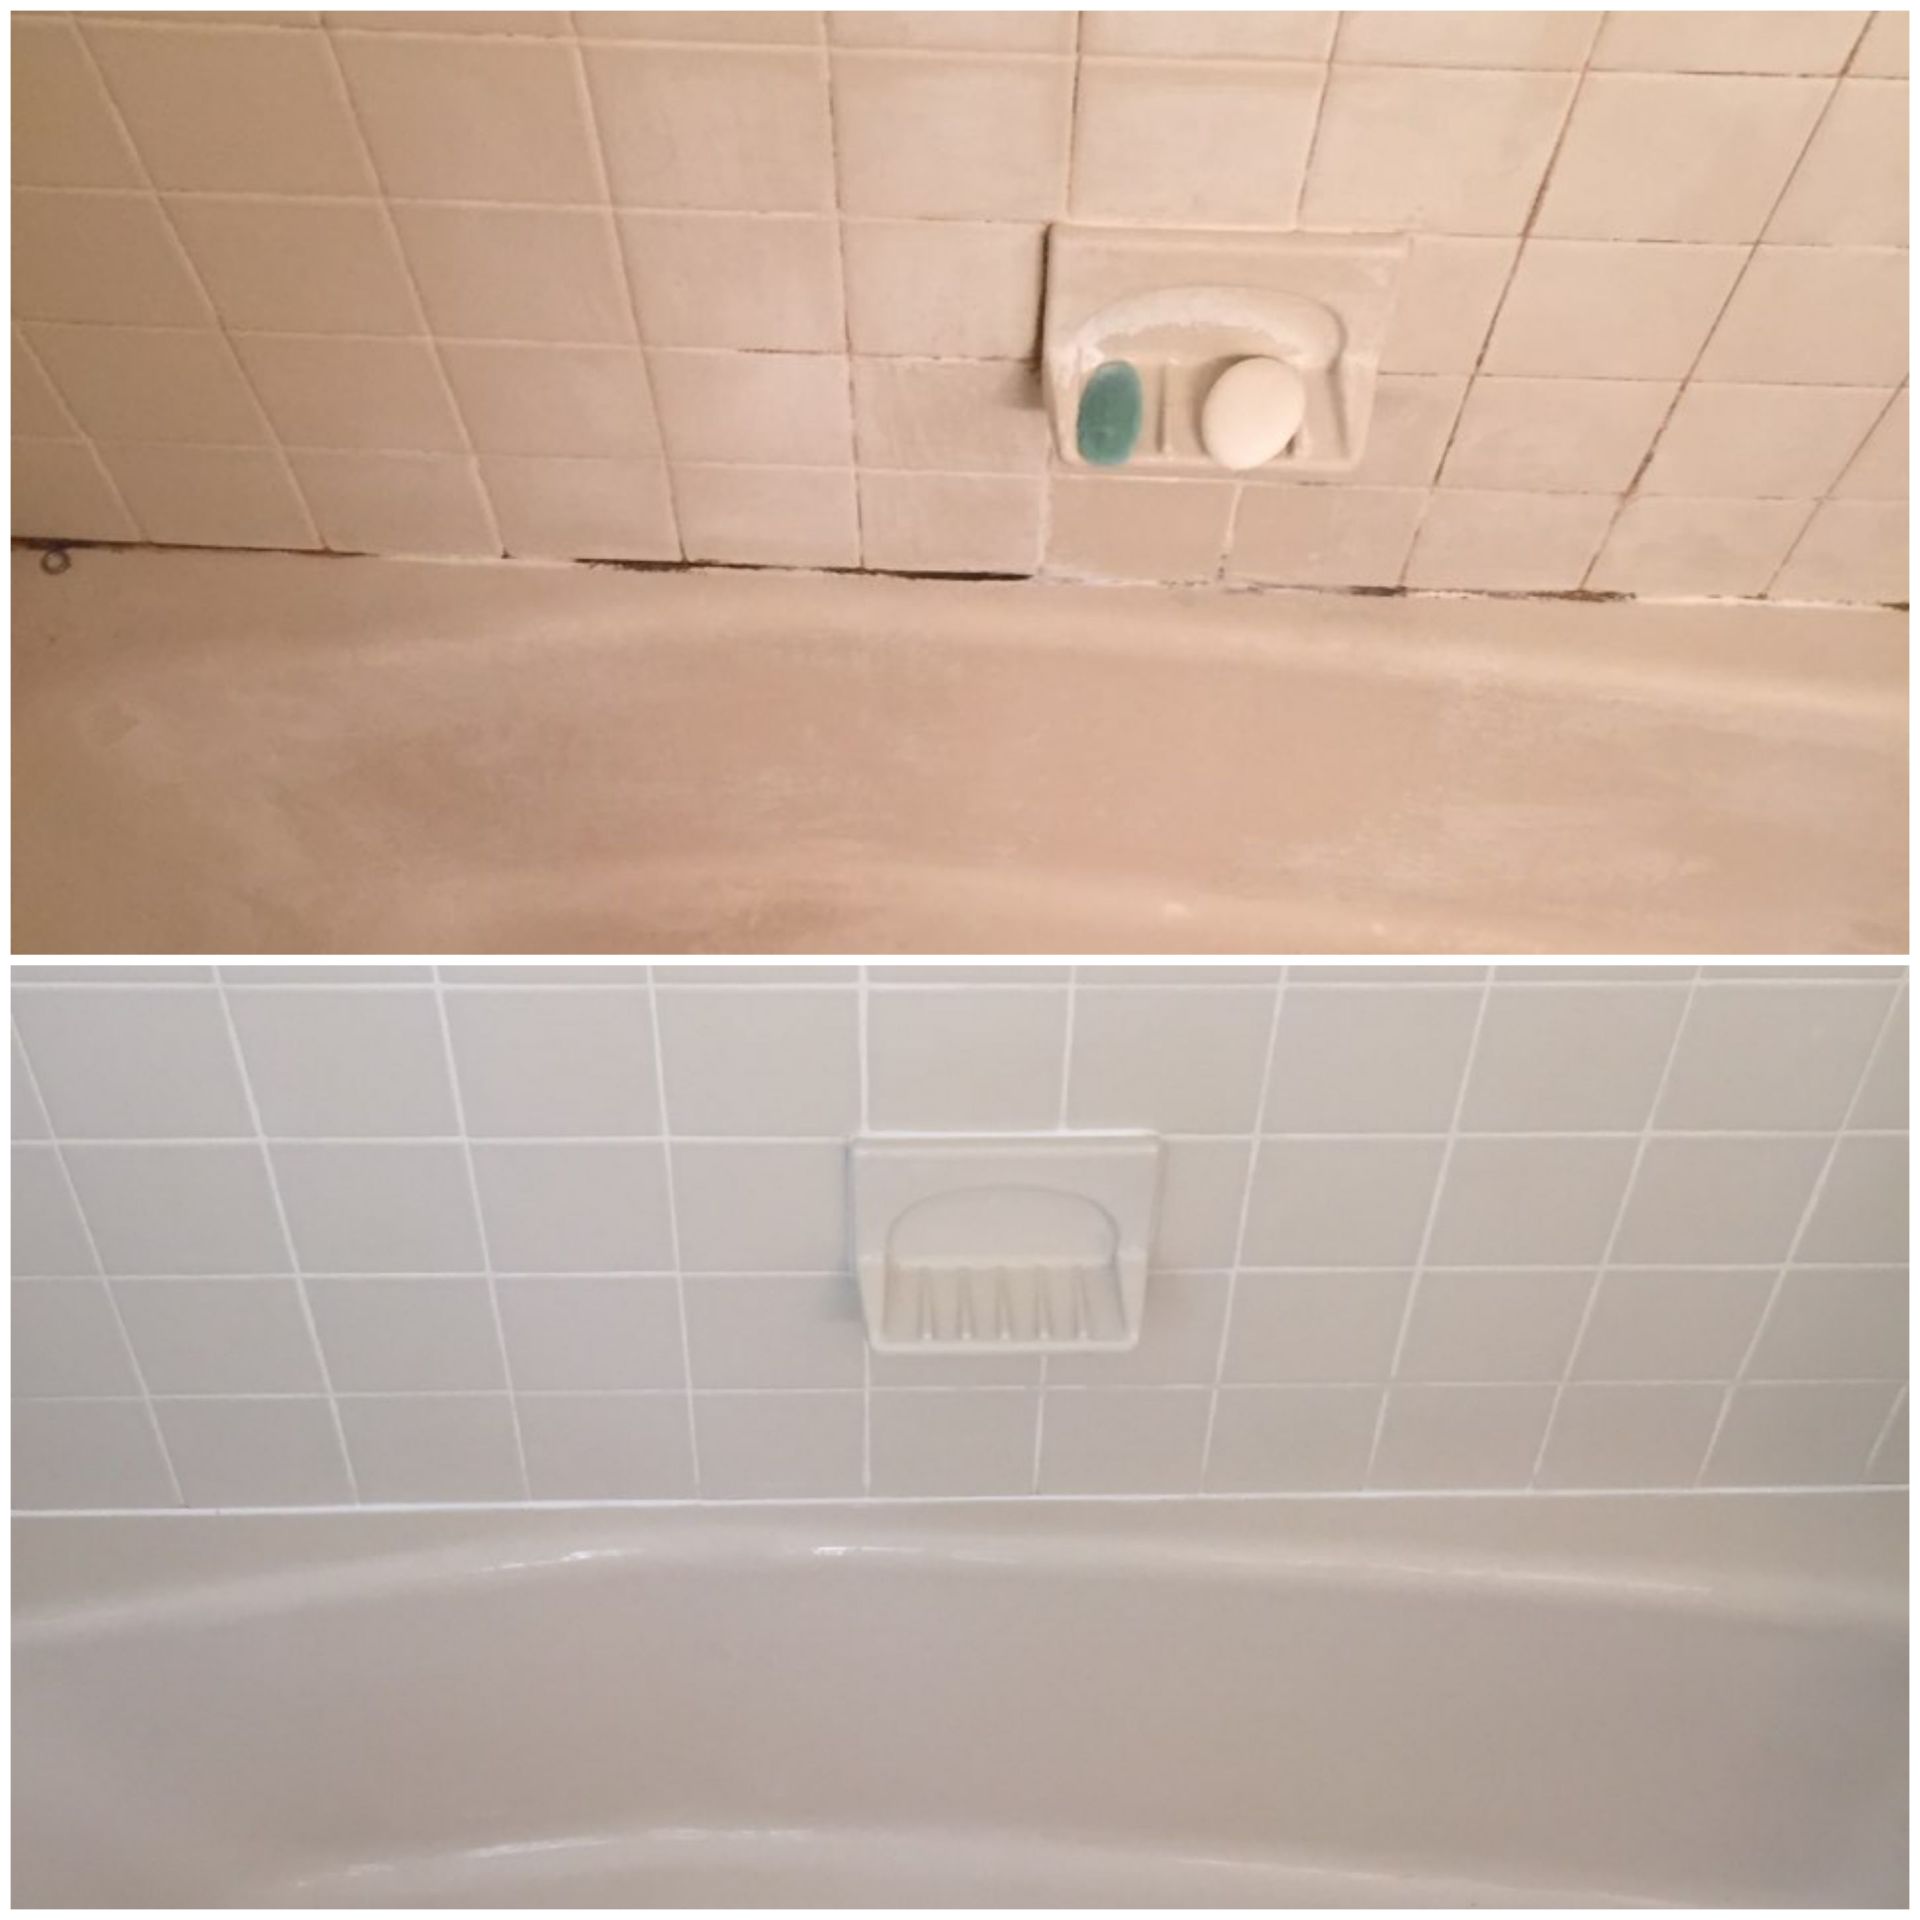
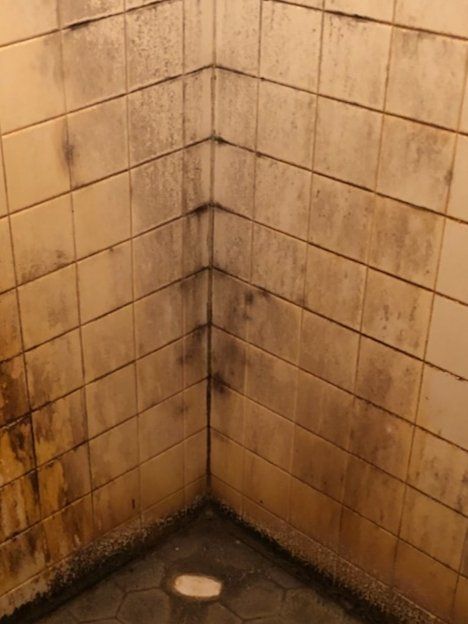
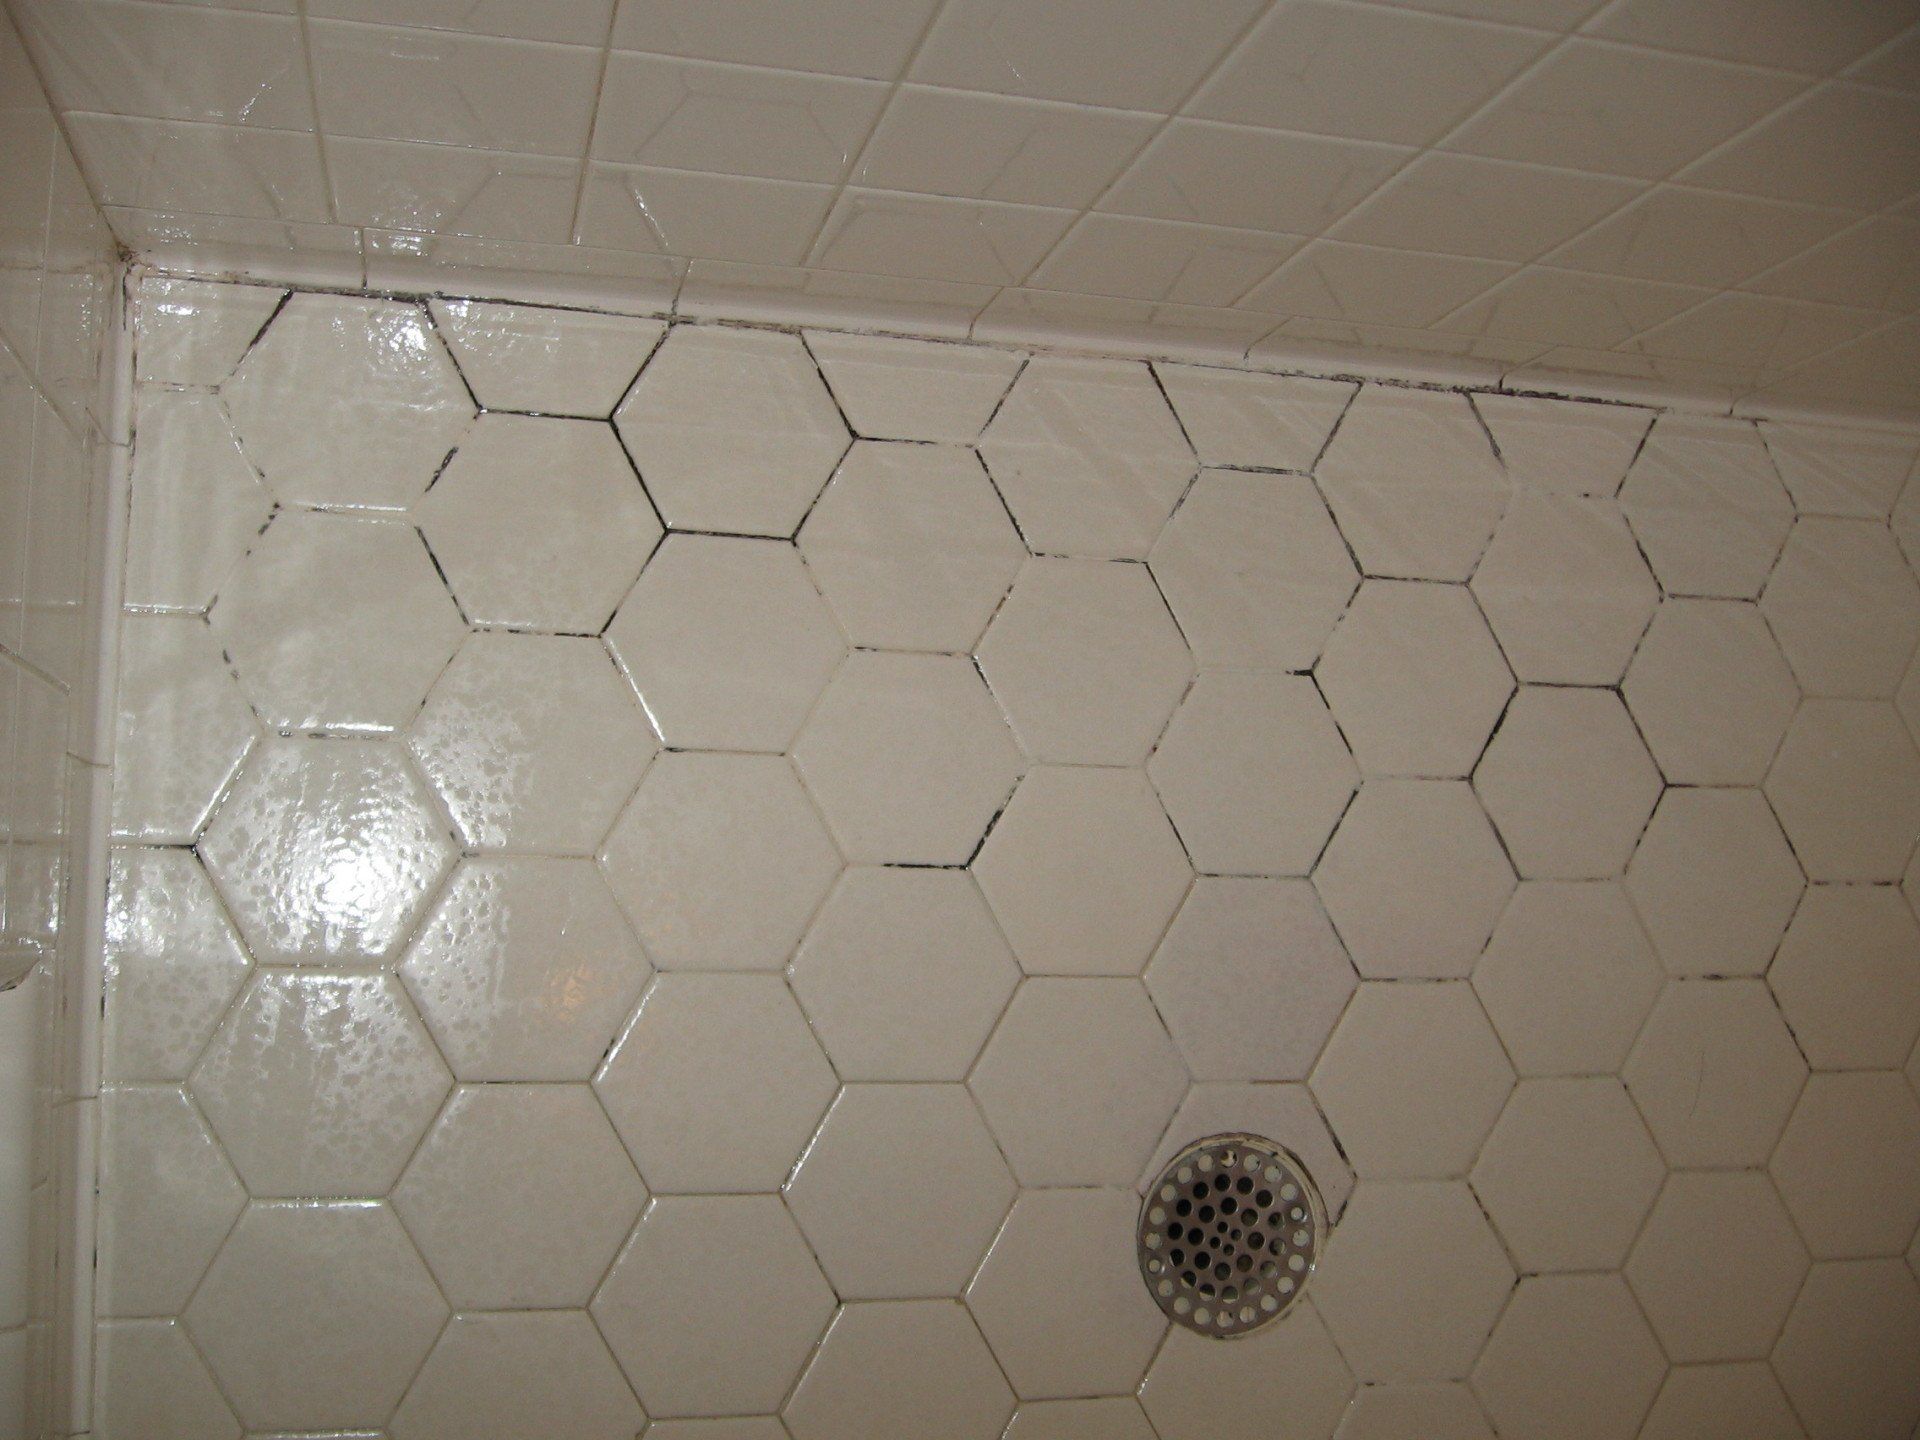
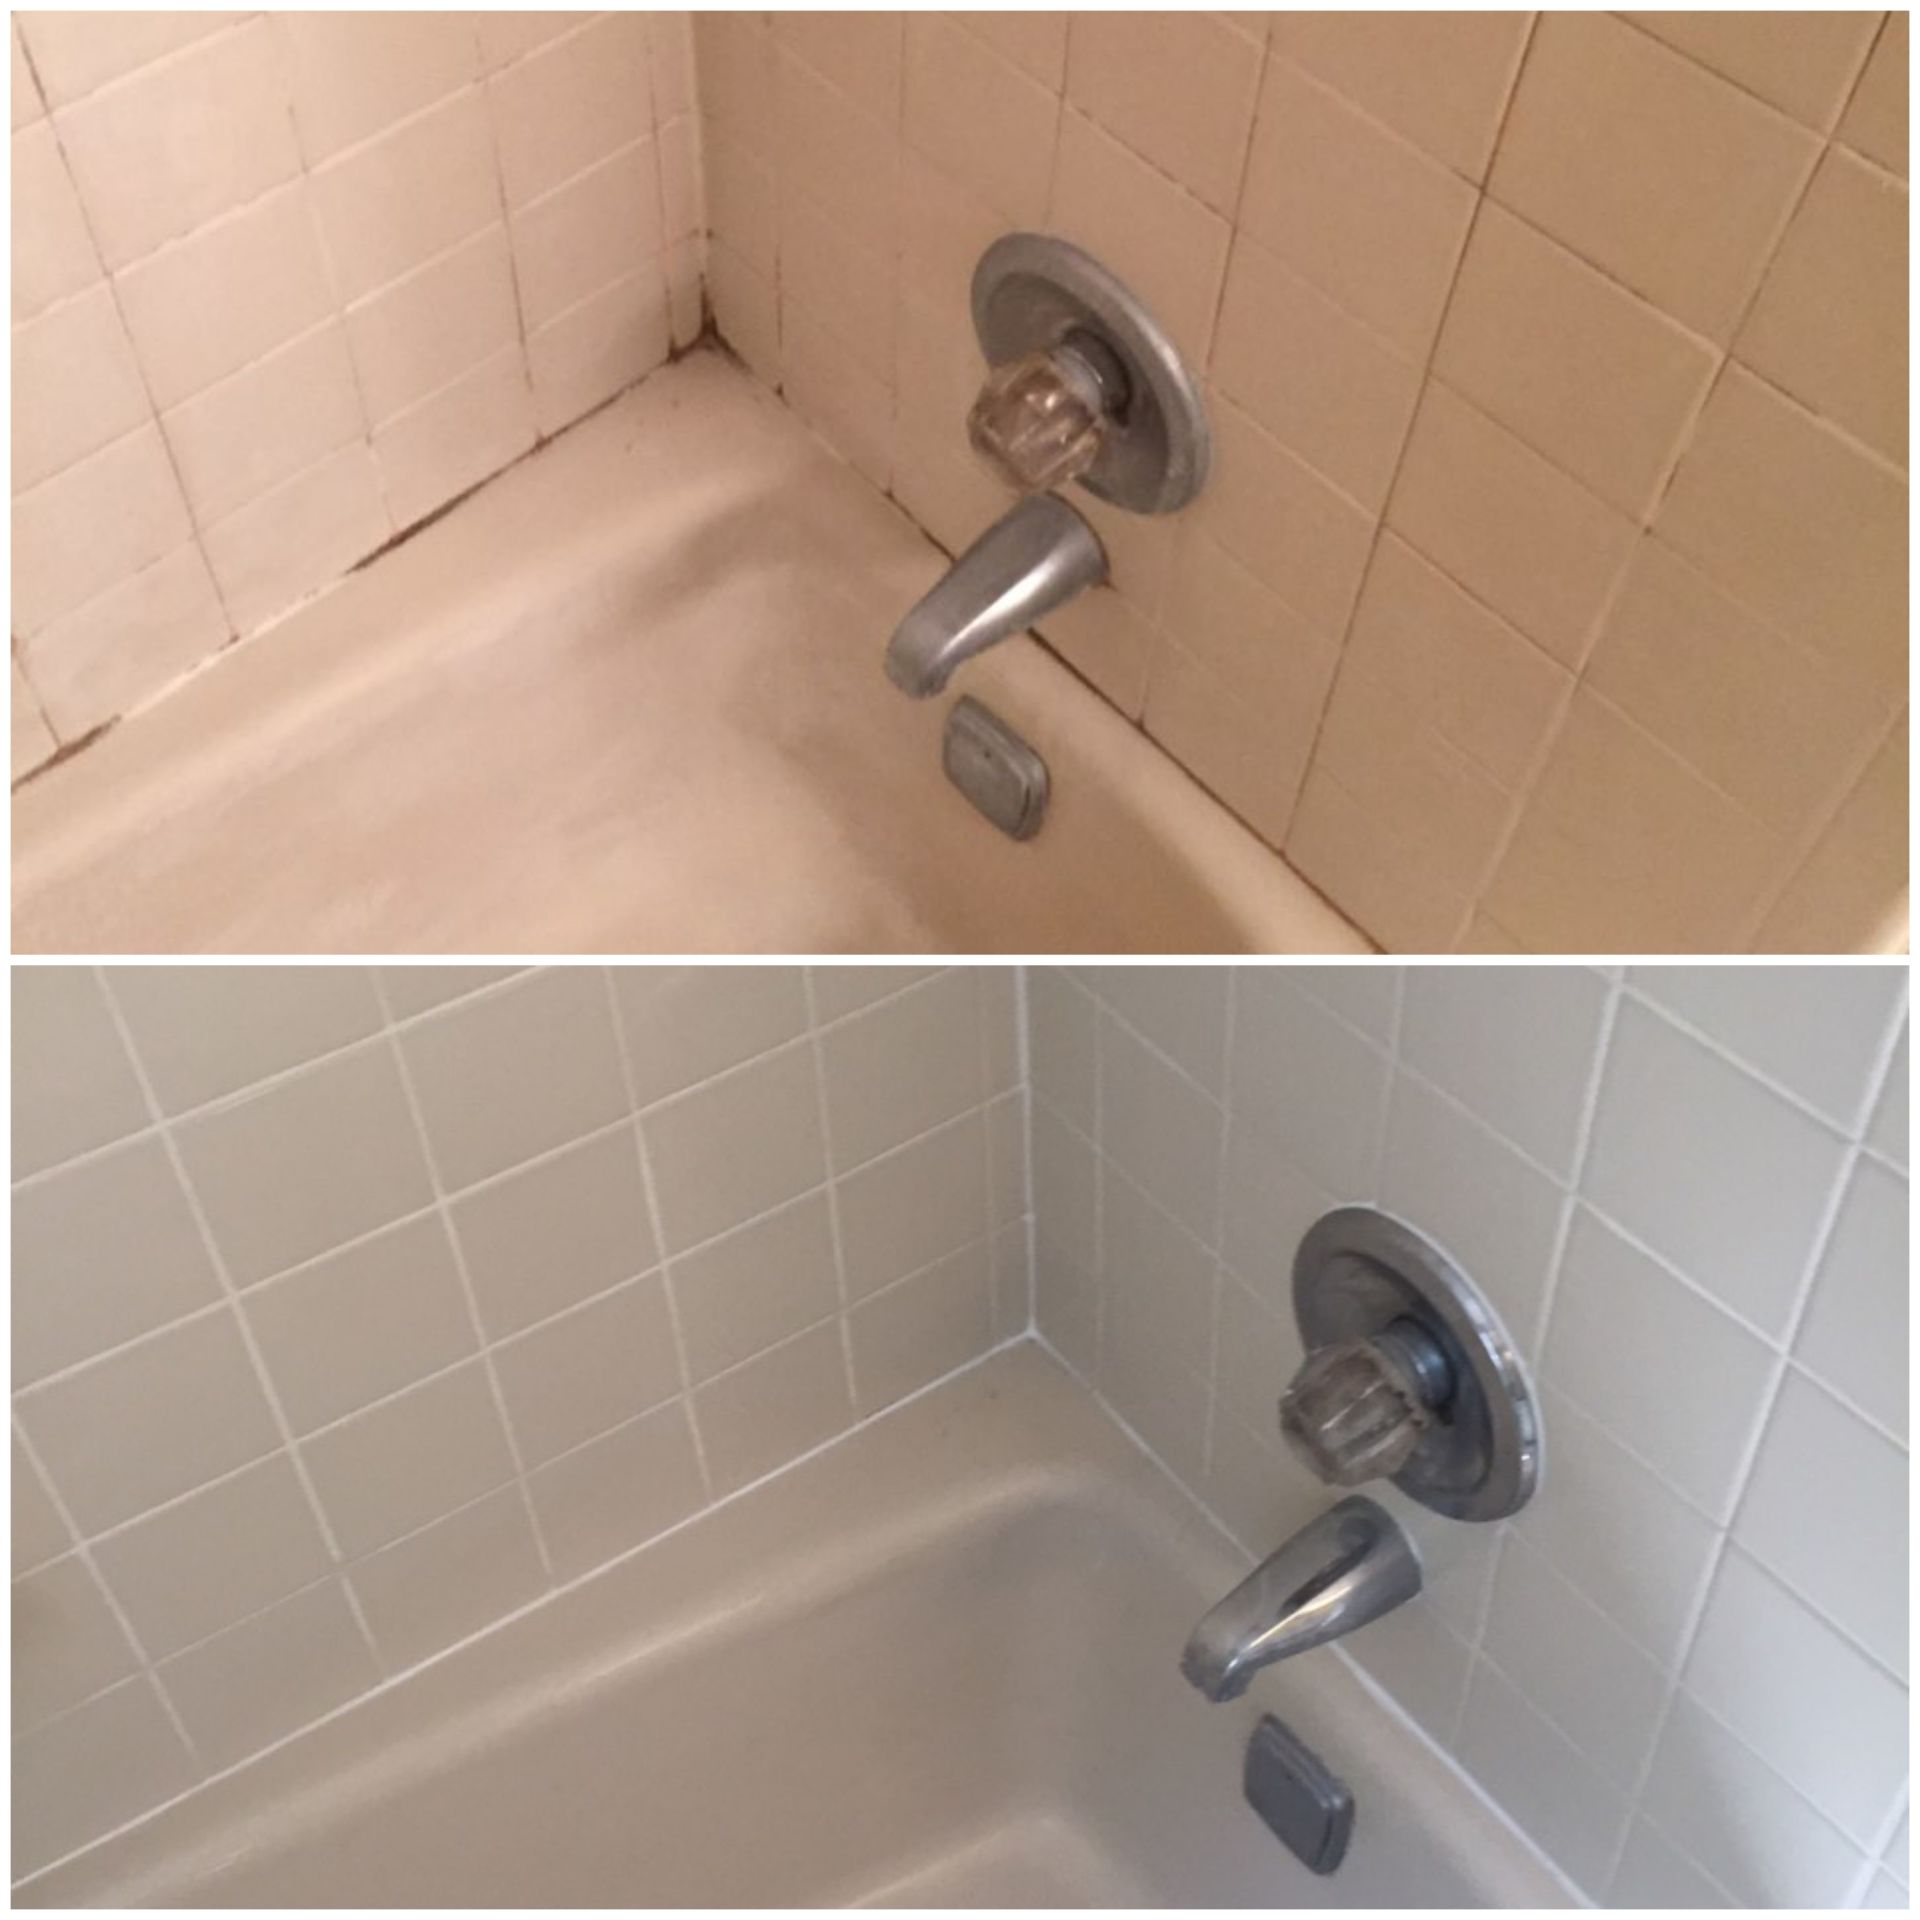
Grout restoration, or re-grouting, is required when the discoloration of the grout is so severe that a cleaning will not suffice.
Restoration is also warranted when the condition of the grout has deteriorated so much that holes, cracks and gaps appear and these defects are beyond fixing with “simple” repairs.
Perfect for:
Tub Surrounds, Shower Stalls, Floors, Countertops, Backsplashes
The Restoration / Re-Grouting Process
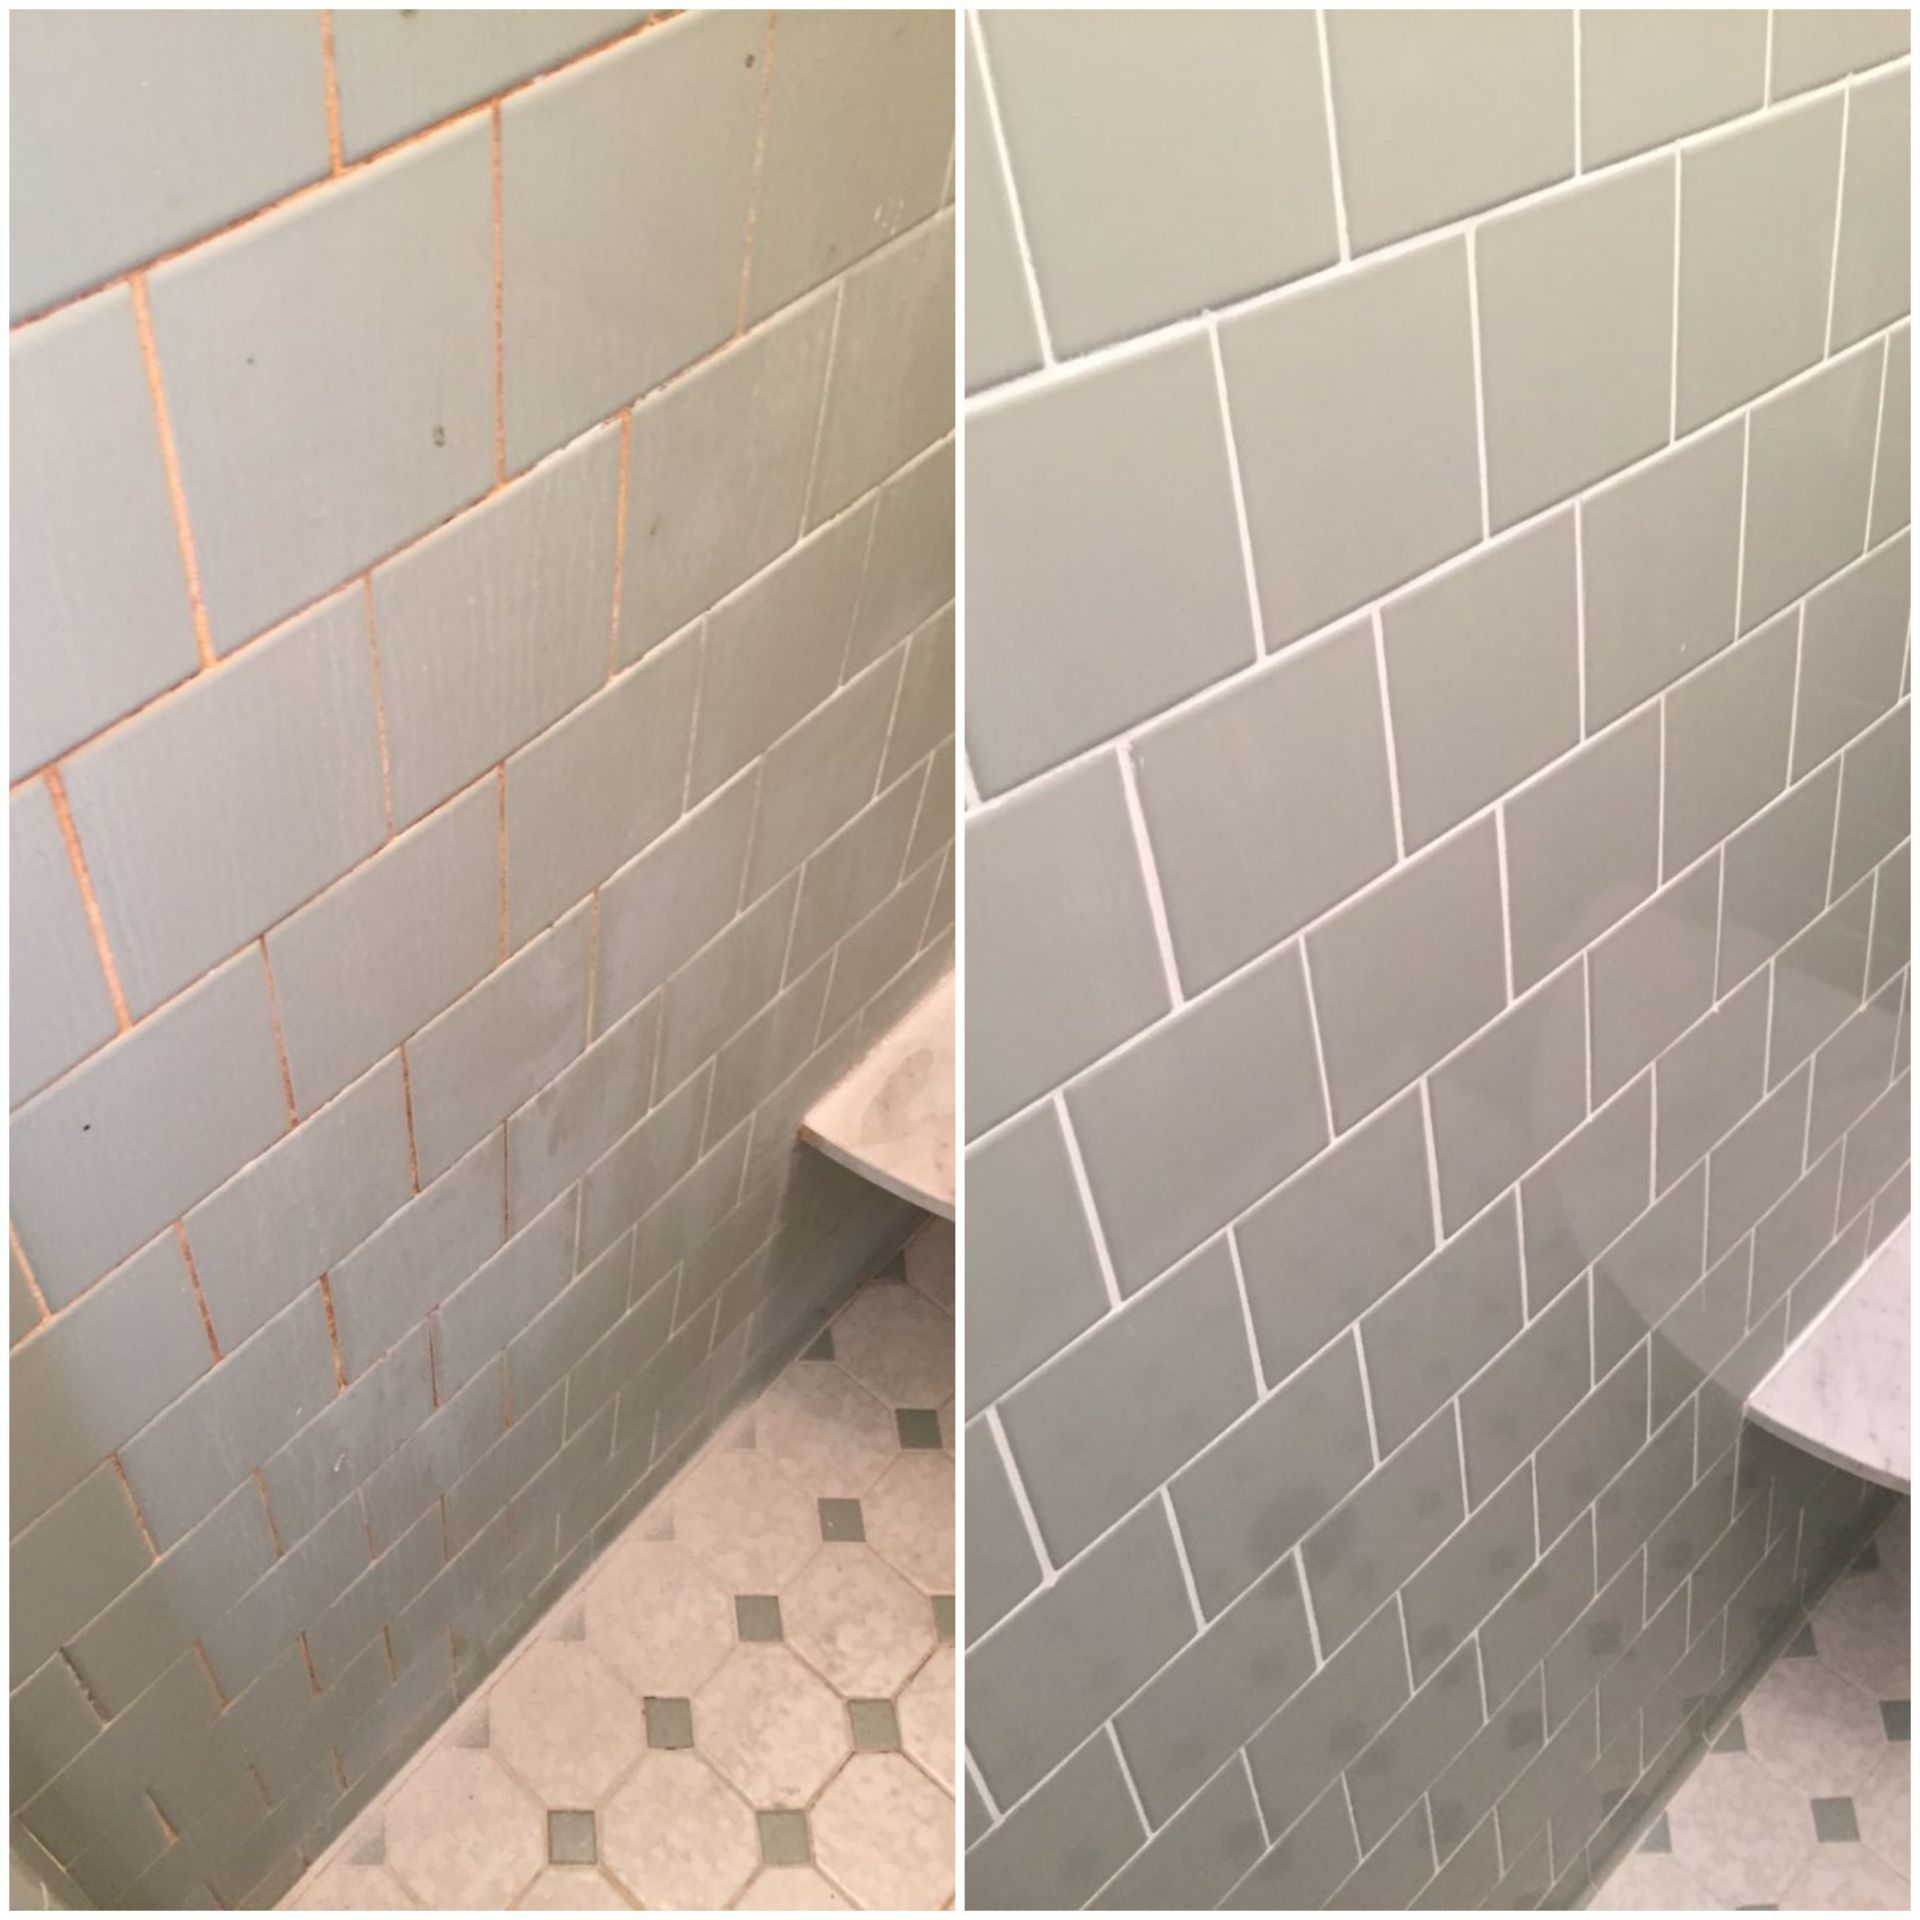
Our process with a restoration is to first remove all the old grout between the tiles. We have a specially made tool that allows us to buzz the grout out. Most electrical grout removal tools are rotary in nature and can easily damage the tiles. Our tool is osculating, so there is virtually no damage that can come to the tile.
After buzzing all the grout out between the tiles, a special scoring tool is used to remove most of the remaining grout. If there is caulk in the restoration, we make sure to remove all of it as well.
Once all grout and caulk has been removed we then spray all the lines with a mold and mildew killer. We then deep scrub all the grout lines to make sure we kill all the mold and mildew that may have behind the old grout and caulk or may still exist. We then place fans to let the grout dry for about 20 minutes.
The next step is floating new grout back in. Once we make the grout and use the color that is chosen, we float new grout back between the tiles. Floating is the process of getting the grout smeared back in between the seams of the tiles.
Once floated the grout has to be sponged to make the lines even and smooth. Once sponging is done we then place fans to dry to the grout.
After the grout has dried, it will leave a haze on the tile, which has to be buffed off. The buffing of the haze also polishes the tiles.
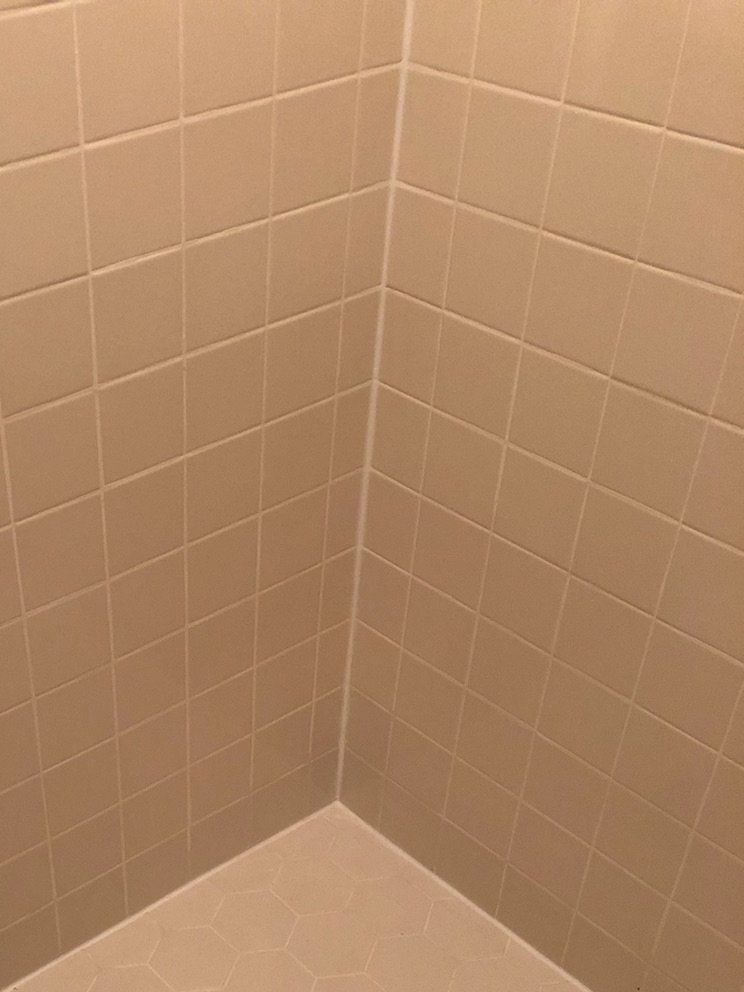
Once the tiles have been buffed a sealant is applied. The sealant is sprayed over the grout and tile and left to be absorbed by the grout. The sealant is usually absorbed by the grout in about 15 minutes. We then towel wipe the tile to remove any sealant residue or pools. We then replace the caulk where needed with the color that has been chosen.


